

The Quinquennial Gift
Dovetail Tea/Ring Box and Walnut Rings
A labor of love from riving to milling to finishing this piece honors our 5 year union.
You are probably a lot better husband than I am in the romantic department, spontaneity is not my strong suit. It is not that I am not considerate, empathetic, and ever loving but I married a very complex lady. I love it but my wife is a bit of an enigma, and although she would love almost anything I ever got her, that Pandora bracelet was a BIG flop. So this year as with most, I reached several impasses about what to get her for this all important Quinquennial. We finally settled on getting new wedding bands for each other. My wife works in a lab and needs something that won’t tear her gloves, and I lost my ring by losing 60 pounds and having the nerve to scrape ice off her car in a foot of snow in the blowing wind (uphill both ways of course.)
So there I was secure in an easy win in the romance department, I had found a couple of really nice rings with all the fancy filigree she was looking for, and then, LIFE happened. Our second daughter was born and we needed a bigger vehicle to get the kids and the dogs around with us, and then 3 weeks later our daily runabout blew up (q uite literally.) Going from zero car payments to two is never fun and put our cash flow tighter than my belt after thanksgiving dinner.
Left with little time and no money what was a man to do? My wife had just popped out our second child and we have been married now for five magical years. I did some perusing online and figured out the quinquennial is also known as the wood anniversary, meaning you buy each other gifts made of wood, perfect I could make something (no pressure at all.). So when not a creature was stirring in our house, not even an 8 week old, I snuck out to the workshop to see what I had to work with. 2x4s (nope), some random red oak (boring), ah a walnut tree stump (perfect!) I am looking at the stump like a fat lion at a gazelle, I know there is some beautiful stock in there but I have to chainsaw, no bandsaw, no lathe, I am never going to catch it, there is no way to get at this log’s succulent inerts.
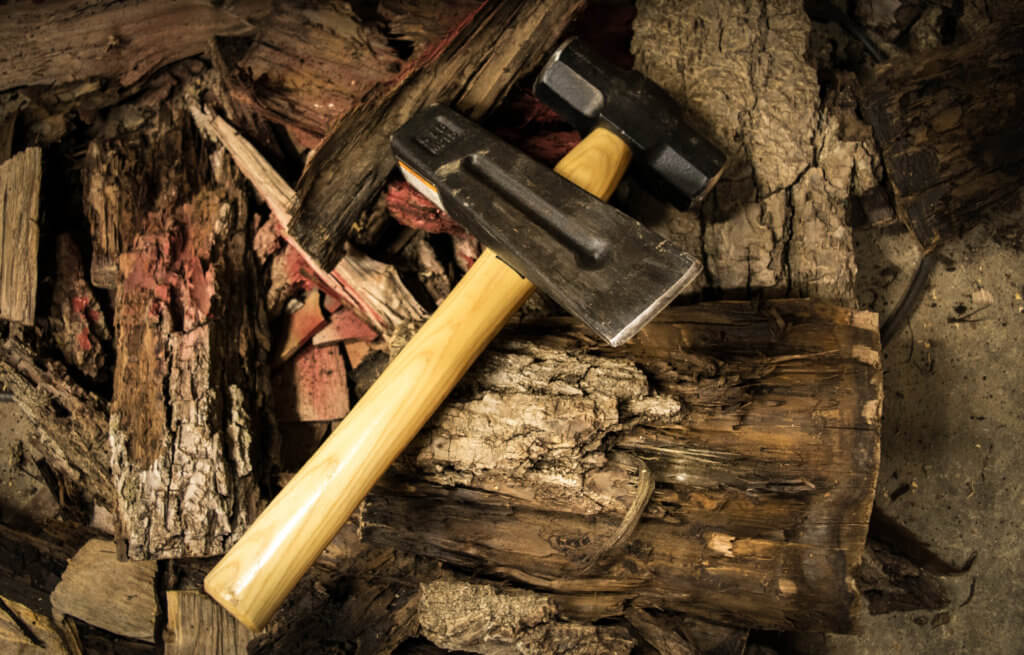
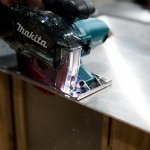
No bandsaw, no problem. Sledge and Wedge it.
I pulled out my trusty 4 lb sledge and wedge and had at it. Since I would not have sufficient time (I had a month and a half maybe) to season the wood as much as I would like I would mill what I got out of the log as thin as possible without it curling up into a pringle. I split out some beautiful riven ¾ walnut, a couple pieces had gorgeous ray flecks and wavy straight grained character, (these were my favorites, I will call them Steve.) I figured the riven lumber would be more dimensionally stable than if I were to bring it over to my buddies shop to flat saw. I had stock, now what, well handcut dovetails of course, every craftsman knows that Dovetails=Love. That’s easy, but how to make something that has some actual value (sentimental or otherwise), and make her itch with love and admiration (or at least pity, you take what you can get)?
I know! I could make a tea box for her to bring to her new office and I could make wooden rings…
(internal dialogue)
ME1: Wait, you’ve never made jewelry.
ME2: (looks online) oh it’s easy, you just need a lathe and a bunch of fancy jigs.
ME1: You idiot you don’t have a lathe
ME2: I am sure I can figure it out.
ME1: Ya you said that last time.
ME2: But I know I can this time, how hard could it be?…
Narrator: Famous last words.
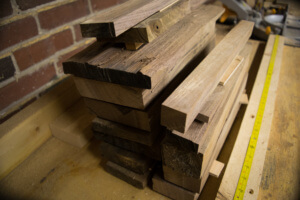
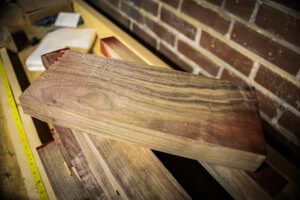
Riven Walnut stock ready for some small projects
The Rings
So my first thought was to make the rings out of solid quarter sawn (henceforth and forevermore referred to a QS) walnut. I had some tight parallel grain stock; if I could cut a nice octagon, turn the outside into a ring shape, and finesse it with some sandpaper, it’d be too easy right? But how am I going to turn these little things without a lathe?
I started with my el cheapo Ryobi drill, literally the cheapest drill Ryobi makes in a vice, this might be the cheapest tool Ryobi makes (it is, unless you consider their electric inflator a tool.) I clumsily put a screw through a chunk of walnut to give the rig a test drive with confidence and testosterone oozing from every pore.
I had it all figured out, I was going to be clever and use my chisels to shave the chunk into a round like a lathe tool. Thats a big ole negatory ghost rider, I effectively made a mechanized tool un-sharpener (note to self, market and sell a power un-sharpener.) So instead I took rasps and files to the spinning chunk, which worked much better, but now the screw was starting to deflect. Danger sat heavy in the air, but again with the confidence and testosterone. The chunk flew out of the chuck and ricocheted around the shop at approximately 400 mph, give our take, whelp that didn’t work. I found the projectile, I was wearing my safety gear but fortunately was not hit (this was not the first and will not be the last bad decision made in this shop,) and the screw was bent and the resulting “round” was anything but, new solution time. The tooless chuck did not have a strong enough grip on the screw to put the kind of pressure I needed to really form the rings, and the deck screw I had hastily thrown in did not have the right temper for this hack job.
I pulled out by cheap hammer drill which had a tooled chuck and I jigged up a little “chuck” for my “blank” with a ¼ 20 bolt, a washer, and a nut and rigged up a new system to “turn” with. Now we’re cooking with fire (well heat anyway) I chucked up another blank of solid walnut and started to shape it with rasps and files. I got it down to a round and then smoothed out the profiles with progressively finer sandpaper, it was beautiful. Then I went to drill out the finger hole (critical to most ring designs), and it exploded into a million tiny little shards . Ah, drill the hole first, you live you learn, I drilled the hole, made a holder to put inside of the round, rinse/ repeat Bob’s your uncle (I’m not Australian), now she’s all purty again. A little fine tuning with my small rasps and it a comfortable fit.
I made my ring easy out of solid walnut but was unable to make one small enough for wifey with the recommended maximum thickness of the band of 3/32” without it dangerously exploding. I shattered several rings trying to get the right thickness with the same technique, no success.
I found another technique where you laminate some veneer cut with a hand plane around a form to make your blank, then you can chuck that up to shape it.
I found a little plastic knob that fit perfectly into my wife’s existing ring to use as form and laminated a strip of walnut around the form with glue and a tight wind of masking tape around it. I made a bunch of blanks since they were quick and easy and I was sure I was going to shatter a couple more. After they were cured for a couple of days I hit them with the same technique as the solid wood rings and the ring turned out great. I am sure her ring will last a long, long time, mine might shatter in a fit of rage when I take on some other boneheaded project.
I hit both rings with a bunch of layers of PA glue and BLO finish as taught by the Wood Worker’s Guild of America and then burnished the final product with some walnut shavings (million grit sandpaper.)

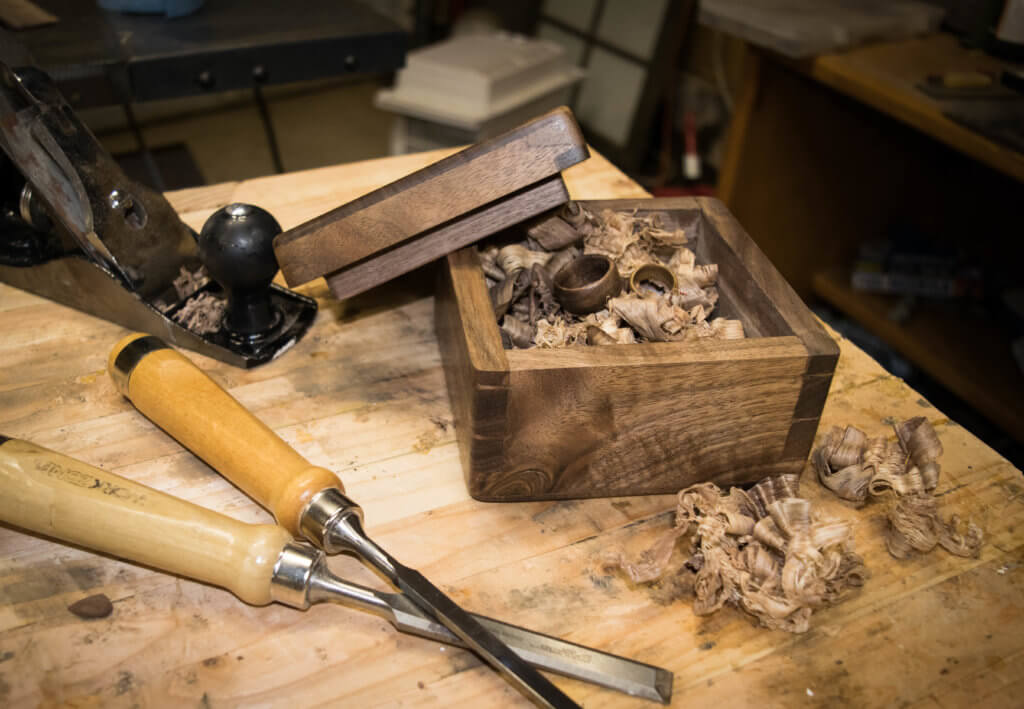
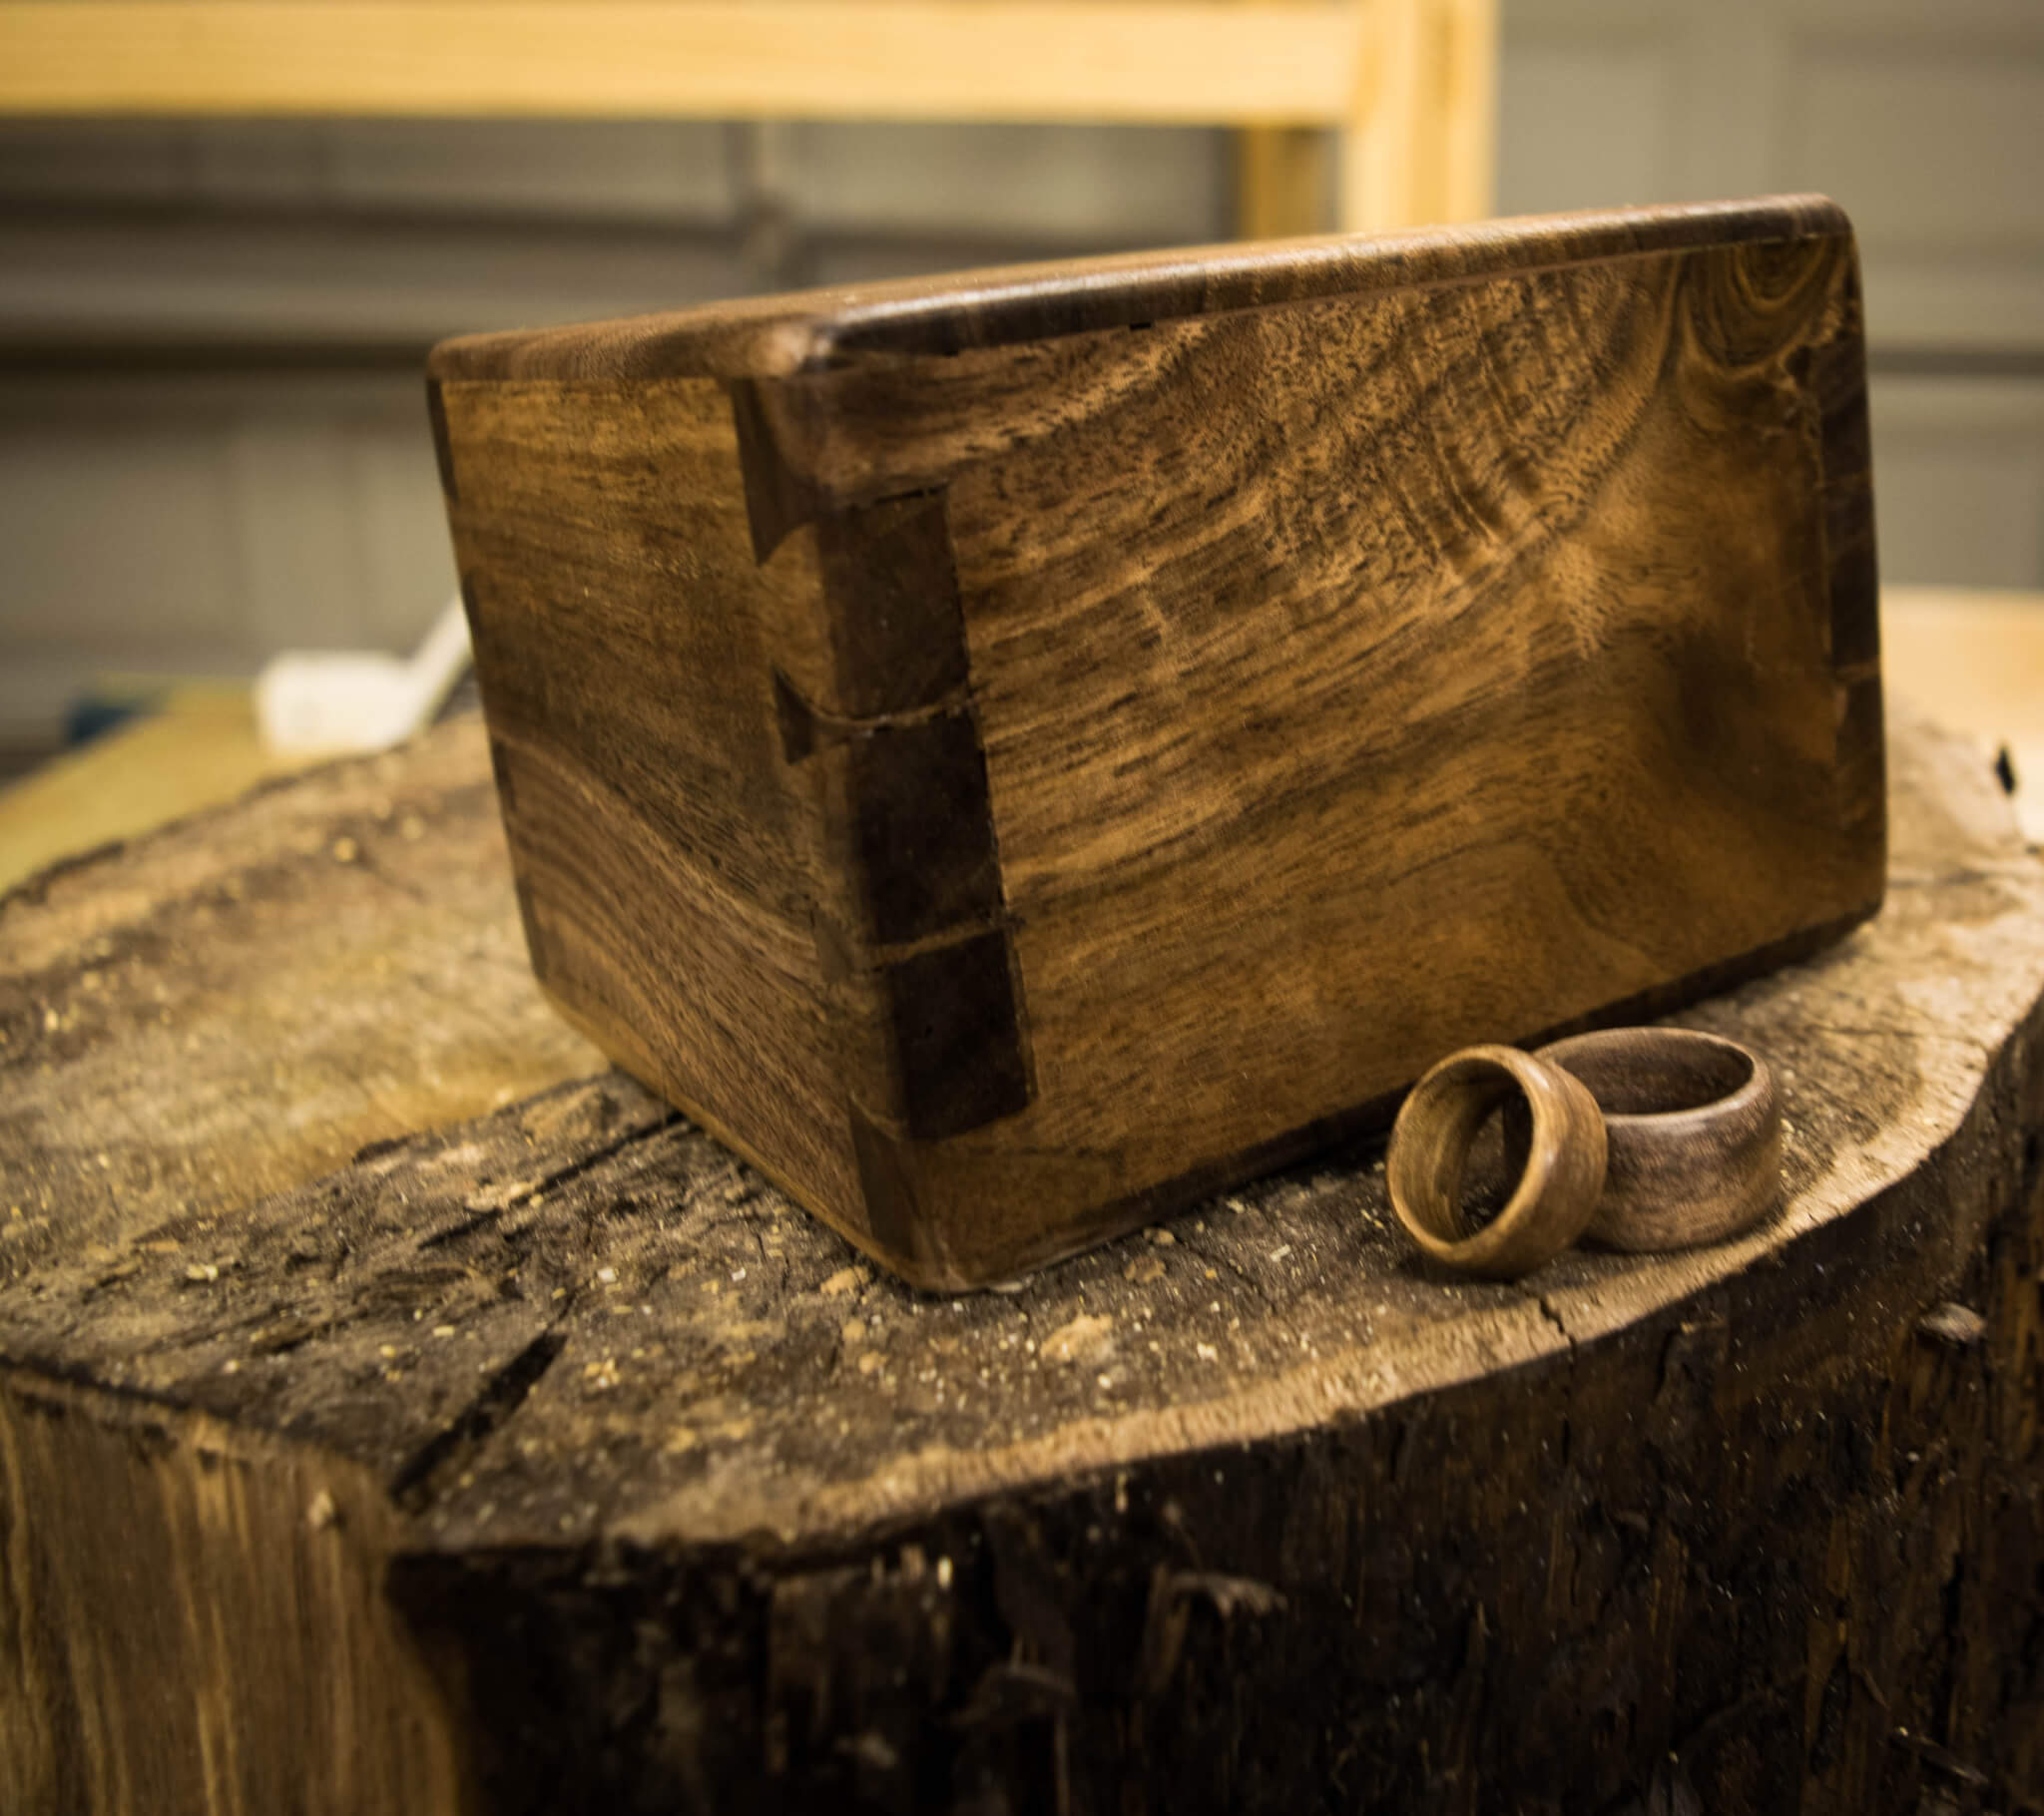
Steve is quite the looker on this Walnut tea box.
Between the steps of making the ring I made a square hand-cut dovetailed box. I will write a step by step article on my dovetailing technique later, but the only remarkable part was how splintery thin QS walnut is. I had to replace a couple of box sides in the process due to blowouts and splits with the splintery wood, I would do deeper scores and use backer boards more consistently next time. It turned out gorgeous though, I used the prettiest piece (Steve) I could find for one of the sides, and she like to show off to the flash so I will finish with some glamour shots…

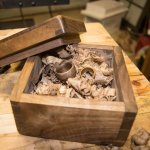
Ready for glue up, and a close up.
By Rick
Keep your tools sharp and your mind sharper
Wood.Work.LIFE


