

A BIG Father’s Day Gift
 My dad’s house is really nice, but it was built at the end of the when the giant tube TVs roamed the wild. The builder was nice enough to build a 24″ jut out off the hearth to accommodate a giant Armoire to house one of those monsters and forever stick this house in the 90s, or so it seemed.. 6 years ago I got him his first flat panel TV and it has lived in that armoire ever since. My step-mom wanted to redecorate and had a great idea of filling in that jut out with a nice built in entertainment center with shelves and cabinets. My dad had mentioned the project to a few local carpenters and cabinet makers but I figured it was
about time I built something nice for him, and I could make him help me with it.
At the end of the day, this wasn’t just a gift, it was an opportunity to torture my dad with the gift of patience that is woodworking. The design was easy, just a big box to fit into and existing box, but my step-mom and the designer she was working with had to thumbs up or thumbs down the aesthetics. In comes Google SketchUp to provide a couple of very visual people something to look at before I start sourcing wood for this bohemoth. Fortunately I know my step mom’s taste pretty well at this point, so she gave me a couple of guidelines, and it only took me three tries to get it to where she wanted it.
After we agreed on a design it was time to start cutting. The SketchUp design made it easier to batch out the big parts.
1. Building the Carcass
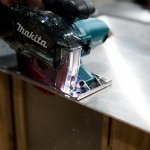
 I am not typically a huge fan of pocket hole construction but in the case of a case…it was too easy. Pocket Holes are great for joining materials that take screws well and Baltic Birch Ply is a prime candidate. I put some shallow dadoes (1/16″) with a router and dado jig (I will show how to build a quick and easy dado jig in a future article, but mine is based on an old Norm design) to assist in squaring up and assembly, this also allows for a little bit of glue surface for these joints for strength, but mostly it is to help line up giant case sides and keep them square.

I also had to make considerations for the large TV and 29″ articulating arm I would be attaching to the cabinet.

Design for a flush door and reinforcement to mount the 29″ extending arm.
2. Installing the Cabinet and Face Frame

With the uneven drywall a little finessing was necessary to get the face frame just right.
Anyone who has done finished carpentry work can tell you that nothing in a house is square, flat, or straight and this was no different. It is a lot easier to fit the face frame to the cutout than to assume everything is straight and square. You still want to make sure all of your work is straight, square, and level but you can’t use the walls as a reference. I left about a ¼ of an inch on all sides of the cut out to allow for some variations, but it is always best to try and measure for the smallest measurement of any opening and fit your work to that.
I attached a clear pine face frame with glue and 2″ brads and then used a sander and block plane to blend it all into a visually flat straight surface. The trim would hide any gaps on the outside edges and once we got the face frame installed my dad couldn’t help himself but to install the TV and to start painting. The finish turned out great but there was a lot of extra work he had to do since he didn’t do his prep first.

With the face frame installed, dad couldn’t wait to get the TV installed and the cards game on.
,
The built in was starting to look good. We got the shelving and some of the trim installed but I had to go back to the shop to craft the mantle to go over the top to match the mantle over the fireplace that was right next to it..
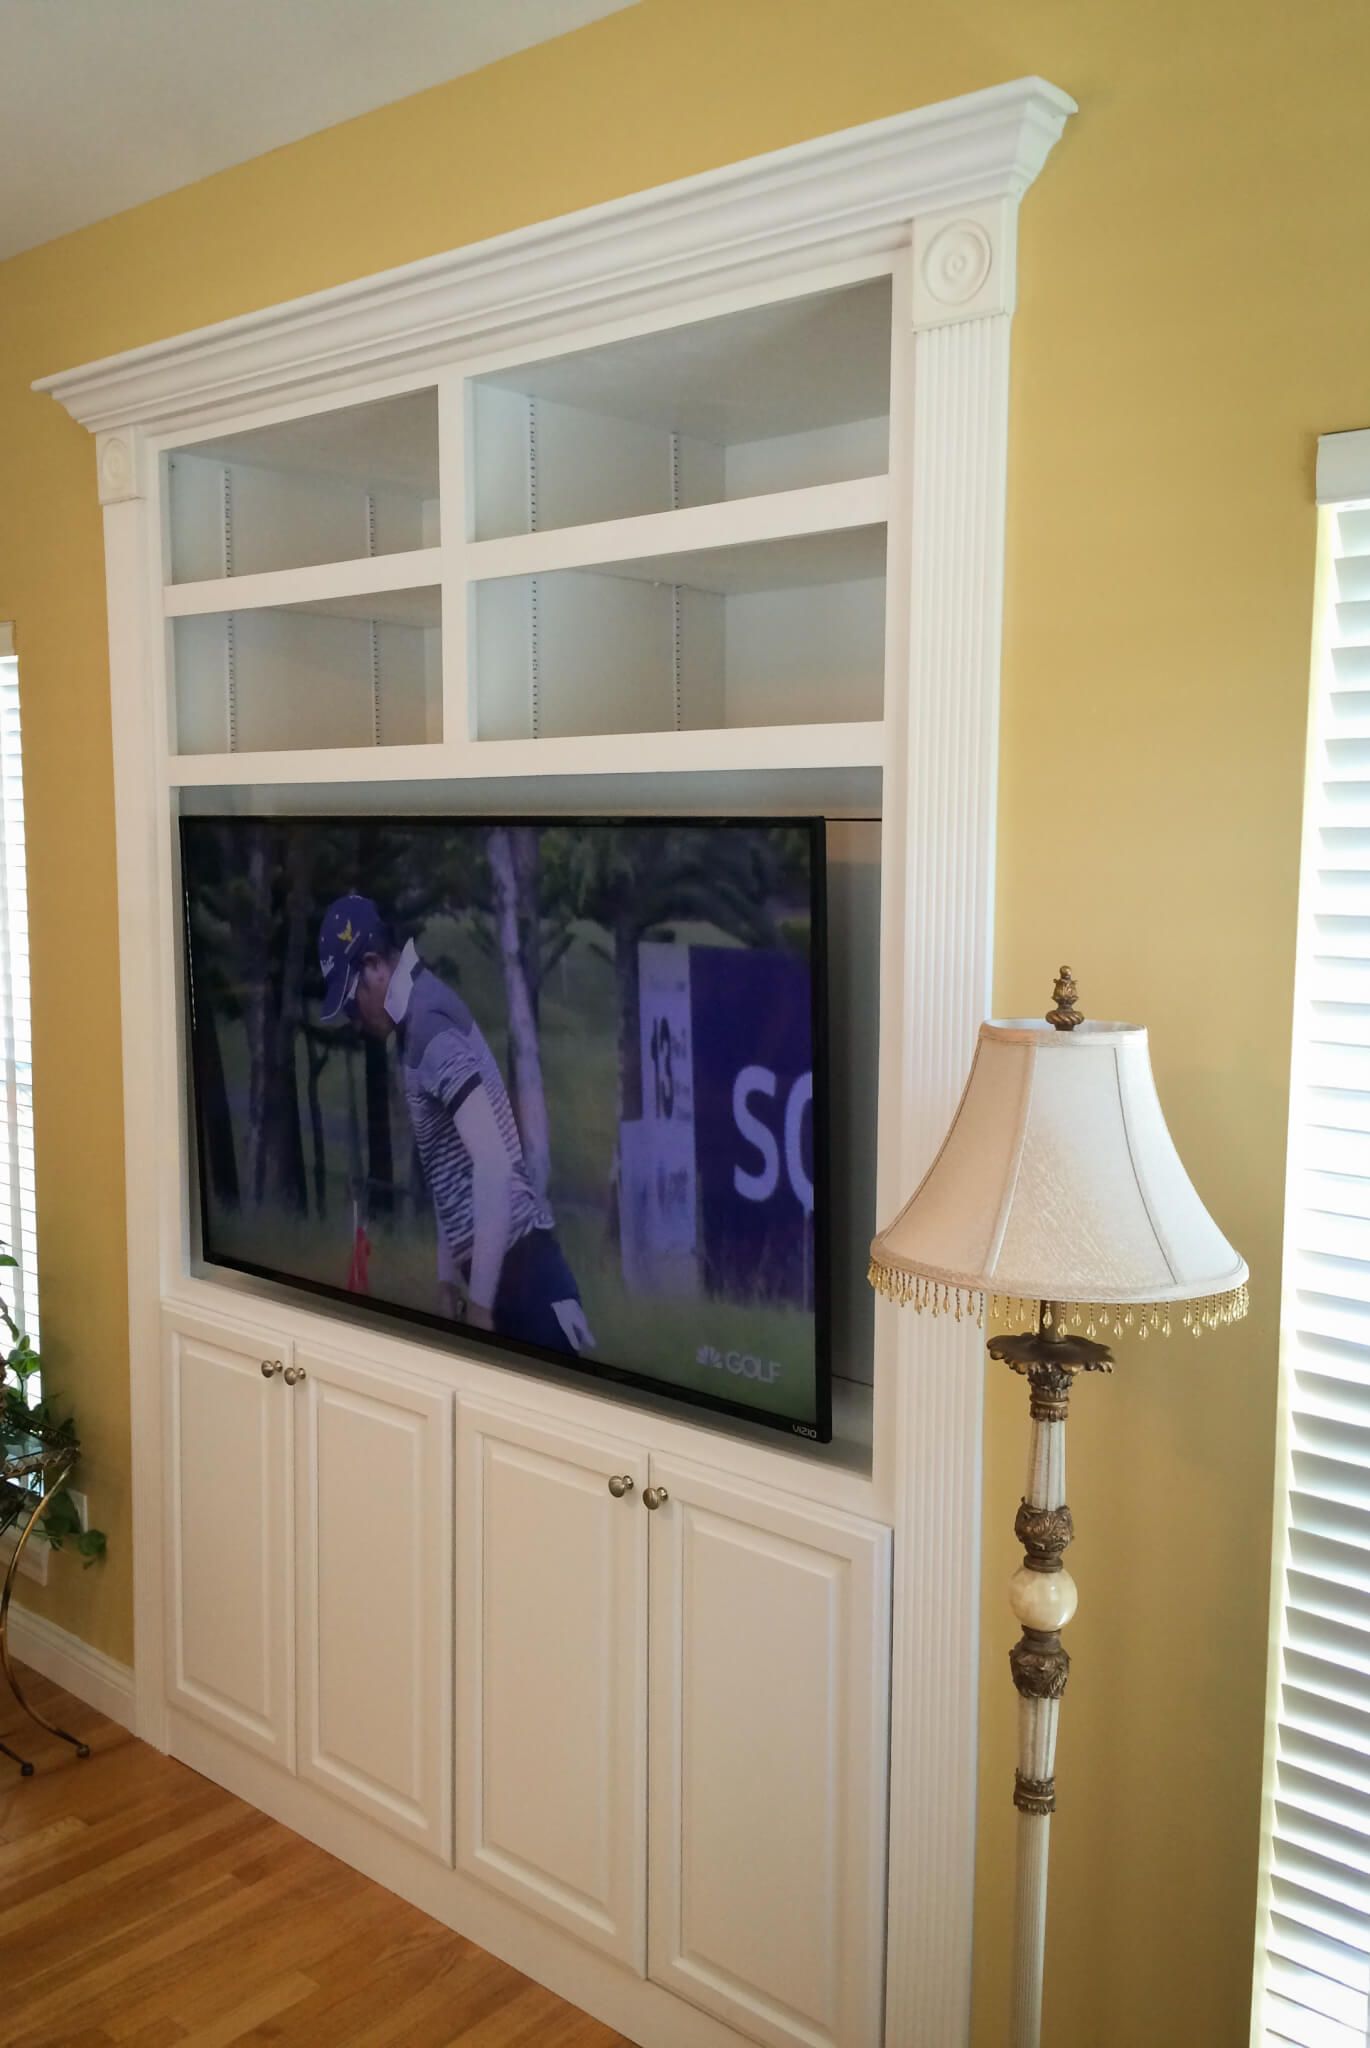
We also manage to finish installing the hidden door for the components to live behind the TV. This allowed the TV to sit flush with the front of the built in, without wasting all the space behind it. This was one of the more customer parts of the design. We matched the depth of the TV+mount with the depth of the recess so the TV sat flush with the face frame. This also my first time installing flapper hinges, which aren’t too bad to install, but are far more complicated than standard hinges.

since there was 22″ of sapce behind the TV, we had to use that space to hide the electronics.
3. Final Touches and Cabinet Installation

Finished installing the built in, gotta love Sunday afternoon golf nap.
The final product turned out great and I was able to match the fireplace mantle with some inexpensive off the shelf triml. The HVLP gun I bought from Wagner worked great for latex paint and a final coat of Polyurethane, I probably wouldn’t use it for finer work as it doesn’t atomize the paint as well as I would like. We ordered cabinet doors from www.fastcabinetdoors.com and they came quickly and were exactly as promised. We went with a poplar frame and MDF panel since we just needed them to take paint well. They matched the style perfectly and came perfectly sanded and ready for paint.
Dad and Step-mom were both delighted and I was glad dad and I were able to bond over the experience. My dad was amazed at the amount of patience and finesse work that goes into even just building a square box with power tools, but you guys already know that.
We are Zen masters…
Rick
Keep your tools sharp, and your mind sharper,

The premier woodworking and lifestyle hub.


